
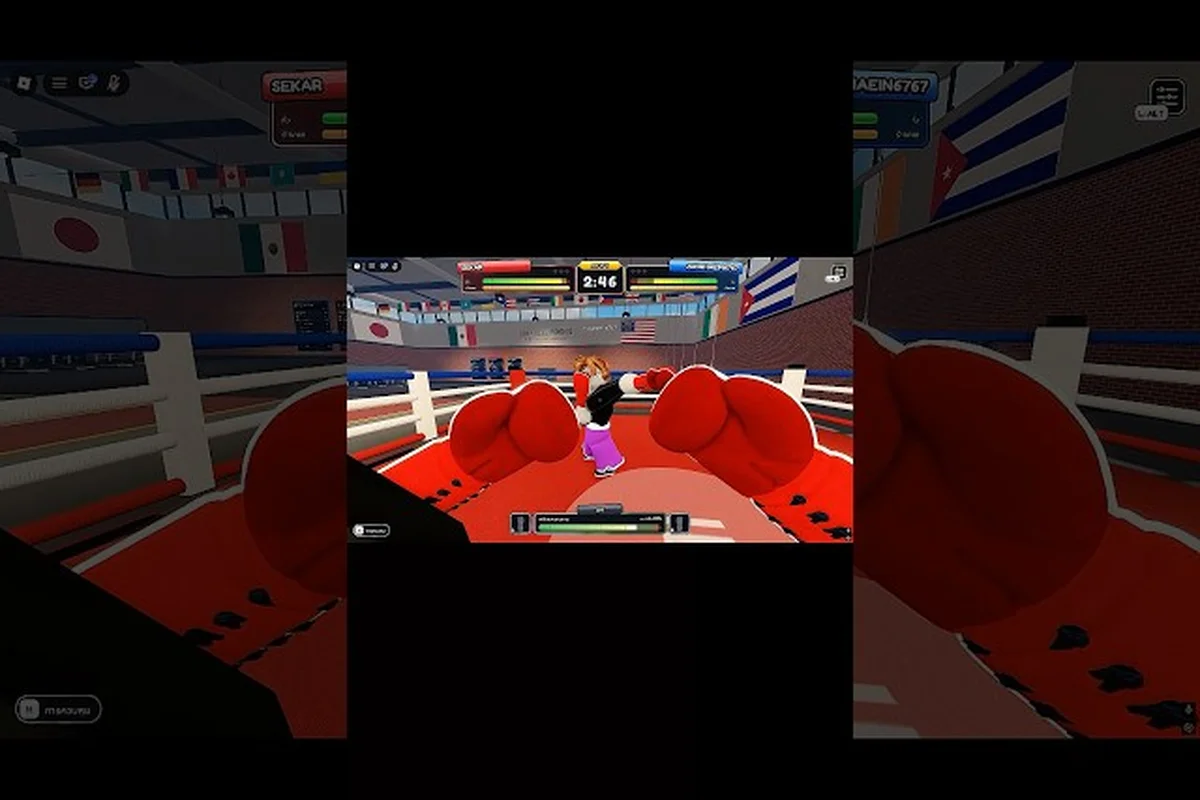
Knowing First Person Boxing when to slip is what separates a player who just blocks from one who actually controls the ring. This technique guide breaks the slip down to readable cues, timed inputs, and the small punish windows that turn a defensive move into your hardest counter. Five mechanics are officially named — punches, slips, guards split into head guard and body guard, counters that can produce a knockout, and a stamina pool that slows you when it empties — and the slip is the hinge that connects all of them. Master the read, the timing, and the return, and the rest of the system starts to reward you.
Reading the Opponent Before You Move
Slipping is useless if you move on the same beat as every other punch. The first job is building a read. Watch the shoulders, watch the feet, and most of all watch the recovery. According to community data, players who time slips on the return of the opponent's hand instead of on the extension get clean counter windows far more often than players who try to pre-empt the launch.
Three cues you can lock onto:
-
Lead hand twitch — the opponent's front glove lifts a fraction off guard before a jab or hook
-
Weight shift — back foot load-up signals a cross, side-step load-up signals a hook
-
Guard width change — when the head guard narrows and the body guard widens, a body punch is loading
Once a pattern is established, you can use that rhythm to bait. Players report that baiting with a soft lead hand that never fully commits and then slipping the committed rear punch is one of the cleanest ways to land a counter. The head movement fundamentals in real boxing line up almost one-to-one with what the game rewards here, so treat that as your reference layer.
| Read Cue | What It Signals | Best Slip Direction | Risk Level |
|---|---|---|---|
| Lead hand lifts | Jab or hook incoming | Slip inside, toward the rear hand | Low |
| Back foot loads | Cross or straight rear | Slip outside, away from the rear | Medium |
| Body guard widens | Hook to the body | Pull back, slip high next beat | High |
| Both shoulders square then rotate | Overhand or loaded hook | Roll under, counter with a straight | High |
The key is that the slip is a response to a confirmed read, not a guess. If you cannot name the cue you reacted to — lead hand twitch, back foot load-up, or the guard width change in the table above — you are guessing, and guesses are what drain your stamina pool fastest, because a mistimed slip still consumes a head-movement frame while your guard remains open for a body hook. Veteran players log every slip they throw and tag it with the read that triggered it, so sessions where 70% of slips tie back to a named cue produce clean counters, while sessions below that mark usually end in stamina collapse by round four.
Slipping in the Context of First Person Boxing Punch Types
The game ships a small set of punch types — jabs, straights, hooks, and uppercuts are all covered in the official mechanic listing alongside slips, guards, and counters. Each punch type loads differently, recovers differently, and therefore gives you a different slip window. The detailed breakdown of how those punches load and what cancels them lives in the core mechanics explainer, and it pairs well with the read table above.
Punch load times (community-reported, not officially published):
| Punch Type | Typical Load | Recovery | Slip Window |
|---|---|---|---|
| Jab | Fast | Fast | Very small — slip on the second jab |
| Straight | Medium | Medium | Large — slip outside, counter with a hook |
| Hook | Slow | Slow | Largest — slip inside, counter with a cross |
| Uppercut | Medium | Slow | Medium — slip to the side, return high |
These windows are not published by the developer and may shift after a patch, so treat the table as a baseline, not a contract. The important pattern is that slower punches = bigger slip windows, and slower recovery = bigger punish windows. If you are learning, spend your first ten rounds only on hooks. The read is easy, the slip is forgiving, and the punish is decisive.
A useful drill from the community: set the AI to throw only one punch type, then slip every single one without countering. After a clean 30-second run, start adding counters. This isolates the slip from the punch input and stops you from confusing two different timing curves.
The Hidden Layer: When Stamina and Guard Choice Change the Slip
Several of the first person boxing hidden mechanics sit in the interaction between slip, guard, and stamina. The official description calls out a stamina pool that slows you down when you get tired — that is the only stamina detail the developer has published. Everything else about stamina numbers, drain rates, and regen rules is unverified, and you should not trust any YouTube thumbnail that claims otherwise.
What community testing does show is consistent: across dozens of player-recorded clips and shared replays, the slip-stamina relationship holds up under repeat testing, and the head-guard/body-guard trade-off described in the table below appears in almost every recorded knockout sequence. The pattern is reliable enough that coaches use it as the baseline for the first person boxing how to block head and body decision tree, even though the developer has not published stamina drain numbers or guard-damage coefficients.
-
Slipping while your stamina is full is faster and recovers cleaner than slipping on empty stamina
-
Holding a head guard while slipping inside leaves you open to a body hook on the next beat
-
Holding a body guard while slipping outside leaves your head open to a rear uppercut
-
Switching guards mid-slip costs stamina and sometimes cancels the counter window entirely
This is where the first person boxing how to block head and body question becomes important. A slip is not a free dodge. It is a movement that must be paired with a deliberate guard, because the moment you commit your hips to the slip, your static guard is half-gone.
| Guard Choice During Slip | Covers | Leaves Open | Best Counter Follow-up |
|---|---|---|---|
| Head guard + inside slip | Jab, cross | Body hook | Quick body hook of your own |
| Body guard + outside slip | Hook to the body | Rear uppercut, overhand | Pull back, then a high straight |
| No guard + roll | Almost everything | Wall — corner slips are punished hard | Single counter, then reset |
| High guard + pull back | Straight punches | Slow — eats stamina on repeated use | Counter only on confirmed read |
If you want a clean starting point, the community consensus is head guard while slipping inside and body guard while slipping outside. It is not the only valid choice, but it is the pattern that matches the official split of guards into head and body. Once you have the rhythm, you can start mixing.
Punish Windows and How to Convert a Slip into a Counter
A slip without a return is a wasted input. The whole point of slipping is to land a counter, and counters in this game are officially named as one of the five mechanics — and they can produce a knockout. The chain you are training is: read → slip → counter. Break any link and the chain fails.
The 3-Beat Punish Chain
A reliable punish in first person boxing looks like three beats, not one, and the reason is that the engine's recovery window is split into two distinct frames players can target. Here is the structure experienced controllers and stick players reach for most when the centerline slip timing clicks.
-
Beat 1 — Slip. Move your head off the centerline as the punch commits. Do not counter yet.
-
Beat 2 — Plant. Reset your feet and bring the same-side hand back to guard. This is the beat most beginners skip, and it is the beat that decides whether your counter lands clean or gets parried.
-
Beat 3 — Counter. Throw the punch that matches the slip direction. Inside slip = rear hook or straight. Outside slip = lead hook or rear uppercut. Pull-back slip = lead jab to the chest or a step-in straight.
If you try to chain slip and counter on the same beat, the counter usually lands during the opponent's recovery guard and gets blocked. If you wait one full beat after the slip, the counter lands during the opponent's second recovery — which is where the knockouts happen.
Punish Selection by Slip Direction
| Slip Direction | Best Counter | Why |
|---|---|---|
| Inside (toward rear hand) | Rear hook or rear straight | Opponent's guard is shifted to defend the slip direction |
| Outside (away from rear hand) | Lead hook or lead uppercut | Opponent over-commits their rear hand, lead side is open |
| Pull back | Lead jab, then step-in straight | Opponent punches into dead space, you re-enter on their reset |
The official counter mechanic is built around timing, not around raw damage, which is why the table above is built on direction rather than on punch power. Players who chase the biggest punch on every slip land fewer counters than players who chase the right punch on every slip.
Drills That Actually Build the Slip Timing
Reading about slipping is not enough. The community has settled on a small set of drills that build the timing without burning ranked matches. You can run all of them in the practice mode the official description confirms exists, against the AI, without touching a real opponent.
Drill 1 — Slip-Only Sets
Set the AI to jab repeatedly. Slip every jab. Do not counter. Run this for 60 seconds, then switch to hook-only, then uppercut-only. The goal is to feel the load time of each punch through your own body, not just your eyes.
Drill 2 — Slip and Reset
Same as Drill 1, but after each slip you reset to your default stance before the next punch lands. This trains the Beat 2 "plant" from the punish chain above, and it is the drill most players skip on their way to ranked mode.
Drill 3 — Slip, Plant, Counter
Full punish chain. AI throws a single punch type, you slip, plant, and counter. The moment the counter lands cleanly 8 times out of 10, switch to a mixed AI pattern. This drill is the bridge between practice and live play, and it is what most community-coaching threads recommend as the first person boxing technique guide baseline.
Drill 4 — Guard Switch Under Pressure
AI throws body-head-body combos. You must match your guard to the level and add a slip on the head punch. This is where the first person boxing how to block head and body skill becomes automatic, because you cannot think about it consciously in a fast exchange — it has to be in your hands.
| Drill | Focus | Time | Pass Condition |
|---|---|---|---|
| Slip-Only | Read + slip timing | 60s per punch type | No punches land clean |
| Slip and Reset | Plant beat | 90s | Counter guard fully restored each beat |
| Slip, Plant, Counter | Full chain | 2 min | 8/10 clean counters |
| Guard Switch | Head/body guard swap | 2 min | Wrong-guarded punches under 2 per round |
A useful side note: the how to slip punches in First Person Boxing companion article covers the input layer in more detail, and it is the one to read if you are still fuzzy on which input triggers the slip versus which triggers a guard. Do not try to fix the timing before you know which input you are pressing.
Advanced Mechanics: Mixing Slips With the Stamina Economy
Once the basic slip and punish chain feels automatic, the next layer opens up. The first person boxing advanced mechanics sit in how you manage your stamina pool across a round, and the slip is the most stamina-efficient defensive input in the game — when you use it right. When you use it wrong, it is also the fastest way to empty the pool and get caught flat-footed.
Three rules the community has converged on after hundreds of posted drill clips, and each one directly addresses a stamina leak the slip is most likely to create in a real round: the slip costs only a fraction of a full guard hold but its penalty stacks when you chain it off-beat or off-position, so the rules below are really a set of guardrails around the stamina economy the previous paragraph described. They are not interchangeable — slip-timing, ring-position, and one-slip-per-punch all tax the same pool from different angles, which is why a player can follow two of the three and still gas out by round three.
-
Slip early in the round, guard late. Your stamina regenerates faster at the start of a round than at the end, so spend your slips when you can afford the recovery and switch to guard holds when the pool is low.
-
Do not slip into a wall. A slip that lands you against the ring boundary removes your reset beat and turns Beat 3 into a counter you cannot finish cleanly.
-
One slip per punch is the rule. Double-slipping the same punch looks flashy but eats stamina and rarely produces a counter, because the opponent is already recovering by the time you finish moving.
If you are fighting on a platform where inputs are sensitive — and the mobile touch and gamepad controls walkthrough shows that they are noticeably different across devices — commit to one device for your drill sessions and only switch once the timing is muscle memory. Swapping a slip input from one device to another mid-session is a common reason players think the mechanic is broken when it is actually their device changing under them.
When To Slip Mistakes That Cost Rounds Early
A round is not a series of isolated slips. It is a sequence of reads, slips, guards, and counters, all running on a stamina budget. Players who climb consistently in the official ranked mode treat the round as a 60-second economy problem, not a 60-second reaction test.
Round structure that holds up at most skill brackets:
-
Open (0–15s): Single slips on the first confirmed read. No counters. Build the read model.
-
Middle (15–40s): Add counters on confirmed reads. Mix head and body guards. Start baiting with the lead hand.
-
Close (40–60s): Commit to the highest-percentage read. If the stamina pool is low, switch to guard + single counter only.
The official event page confirms a ranked mode exists, but no rank names, rating formula, season length, or placement rule is published. Any guide that tells you otherwise is making it up. The plan above is built on type-level mechanics — slip, guard, counter, stamina — that are published, and that is the only safe ground to stand on.
A small but important detail: the slip and the guard are separate inputs in the official mechanic list. They are not the same button, and holding a guard does not let you slip on top of it. If you are losing stamina on exchanges where you thought you were slipping, you are probably guarding through punches instead of slipping them, and the two have very different stamina costs.
Closing the Loop: What a Good Slip Actually Looks Like
Pull all of the above together and a good slip is a small, readable thing. The opponent loads a punch, you read the load, you move your head off the centerline, you plant your feet, and you throw the counter that matches the direction you moved. You do it inside your stamina budget, you pair it with the right guard, and you do not try to do it twice on the same beat. That is the whole skill.
The official description lists five mechanics, and the slip is the one that connects the other four. Punches are what you slip, guards are what you hold when you are not slipping, counters are what you throw when the slip lands, and stamina is the budget that makes all of it work. Once you see the system as a loop instead of a checklist, the slip stops being a defensive crutch and becomes the central input that drives your offense.
Frequently Asked Questions
How do I know when to slip in First Person Boxing?
You slip when you have a confirmed read on the opponent's punch load — lead-hand lift, weight shift, or guard width change. Players who time slips on the return of the opponent's hand, rather than on the extension, get cleaner counter windows. If you cannot name the cue you reacted to, you are guessing, and guesses drain your stamina pool fastest.
What is the best punch type to practice slipping first?
Hooks. According to community data, hooks have the slowest load and the slowest recovery, which gives the largest slip window and the largest punish window. Spend your first drill sessions only on hooks, then add jabs and straights once the timing is in your hands. Uppercuts are the most punishing to slip wrong, so save them for last.
How do I block head and body at the same time while slipping?
You cannot — and that is the point. The slip is a movement, not a guard, so you must choose which guard to hold while you slip. Community consensus is head guard for an inside slip and body guard for an outside slip. Trying to swap guards mid-slip costs stamina and can cancel the counter window entirely.
Does slipping cost more stamina than blocking?
Stamina numbers are not officially published, but community testing consistently shows that a clean slip uses less stamina than holding a guard through a full exchange, and that a missed or double slip costs more than a single clean one. The rule of thumb is one slip per punch, early in the round when your stamina pool is full, and switch to guard holds when the pool is low.
Can slipping actually lead to a knockout?
Yes. The official description lists counters as a separate mechanic that can produce a knockout, and the slip is the input that sets up most clean counters. The chain is read → slip → plant → counter, and the knockout usually lands on Beat 3 when the counter hits the opponent's second recovery instead of their first.